
A bit of tweed for a crazy look... the Bob Fauve the tuto!
Hello!
The Bob Fauve is the new pattern I give to you for free and to help those who hesitate to sew this hat, I offer you a photo tutorial. The link to the pattern is HERE. At Stragier haberdashery I made a selection of fabrics adapted to this pattern and it is the tweed/cotton poplin duo that I choose to sew. A bit of Chanel tweed, nothing like it to make everything more chic (even a bob ;) )!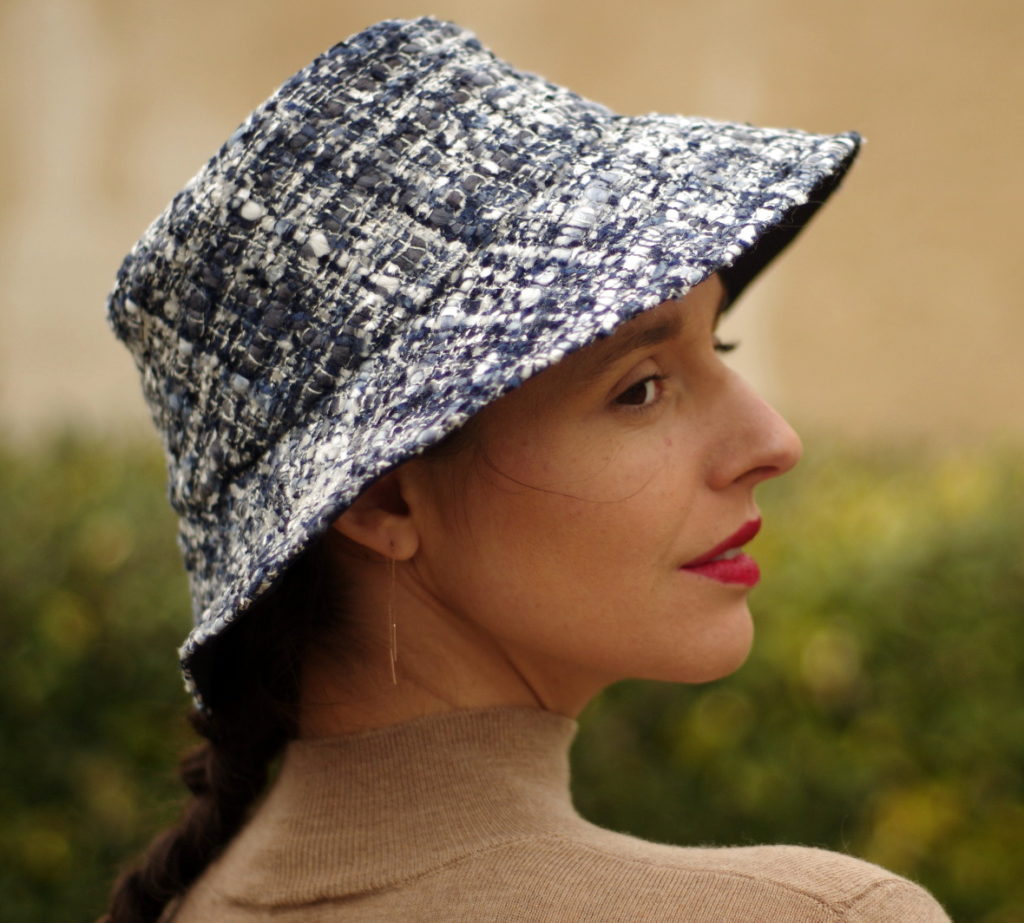


All right, let's go, here's the step-by-step photo montage of Bob Fauve:
Prior to your sewing steps, remember to interface your pieces. Transfer the pattern markings A and B to the pieces on the side.- Assemble your top pieces of bob fabric and lining back to back, and in the seam allowance (about 0.7 cm).


- Close your piece on the fabric side by folding it right sides together. Press the seam open.
Do the same with your piece on the lining side. Assemble your pieces in the seam allowance (approx. 0.7 cm) back to back, making sure that the seams of each piece are facing each other.
3. Assemble edge-to-edge and fabric against fabric your bob top and side according to the areas marked B. Position the vertical seam of your "side" piece in front of the small notch marked on the "top" of the bob, this will be the middle back head marker.

Setting the bias
Your assembly seam is on the lining side of the bob, these are the seams that you come to enclose in the bias. Open the bias and pin it right side of the bias against right side of the "side" or "top" part (this is the case on these pictures, but if you follow the diagrams you pin from the side, the result will be the same) all the way around seam B. Sew at 1 mm from the top fold of the bias.

 Turn the bias over, and stitch 2mm from the fabric-bias junction: you sew the bias with the seam allowance of B so that the bias will be well in place when folded inside.


 4. The visor: Assemble your fabric visor parts right side to side edge to edge. Open the seams with iron. Do the same for the lining.
 Overlap your visors with the fabric and lining right sides together and sew 1 cm along the whole outer edge, matching the seams on the sides of the pieces. Notch the rounding, clear the corners and turn right side out. Iron well.


 Assemble the visor (edge A) and the side (edge A) fabric to fabric. To correctly position the visor part The stitching on the side portion of the bob corresponds to the middle back, and you have on your "side" piece pattern along the A edge small notches that correspond to the seams on the side of the visor.


One
Thanks for the pattern, I found the stylish challenge that I was looking for 😊