
19 May 2023
Dahlia pussy bow blouse and its tutorial!
 When the Mango publishing house contacted me to write a patternmaking book, I was flattered but also a little bit stuck. I thought a lot about the angle from which to approach the question. Making pattern making democratic and playful is really difficult, because the part of building the basic patterns remains a very academic step. That's why I chose to put forward the "transformations" that allow you to make your basic pattern BUT ALSO when you want to start from a commercial pattern and personalise it. As an example, I wanted to show you how to transform an "old" pattern from my collections, the blouse Dahlia To make you a beautiful little piece this spring: a pussy bow tie blouse WITH a ruffled collar (the double trouble that slaps what!). And how the heat rises towards my place, we zip the sleeves and we rework the armholes a bit (and yes I'll make you work but you'll see it's so worth it!). And then with this pattern a little collar mounted we would quickly get hot otherwise. For this version I also chose to change the back pleat and I simply gathered it (crazy!).
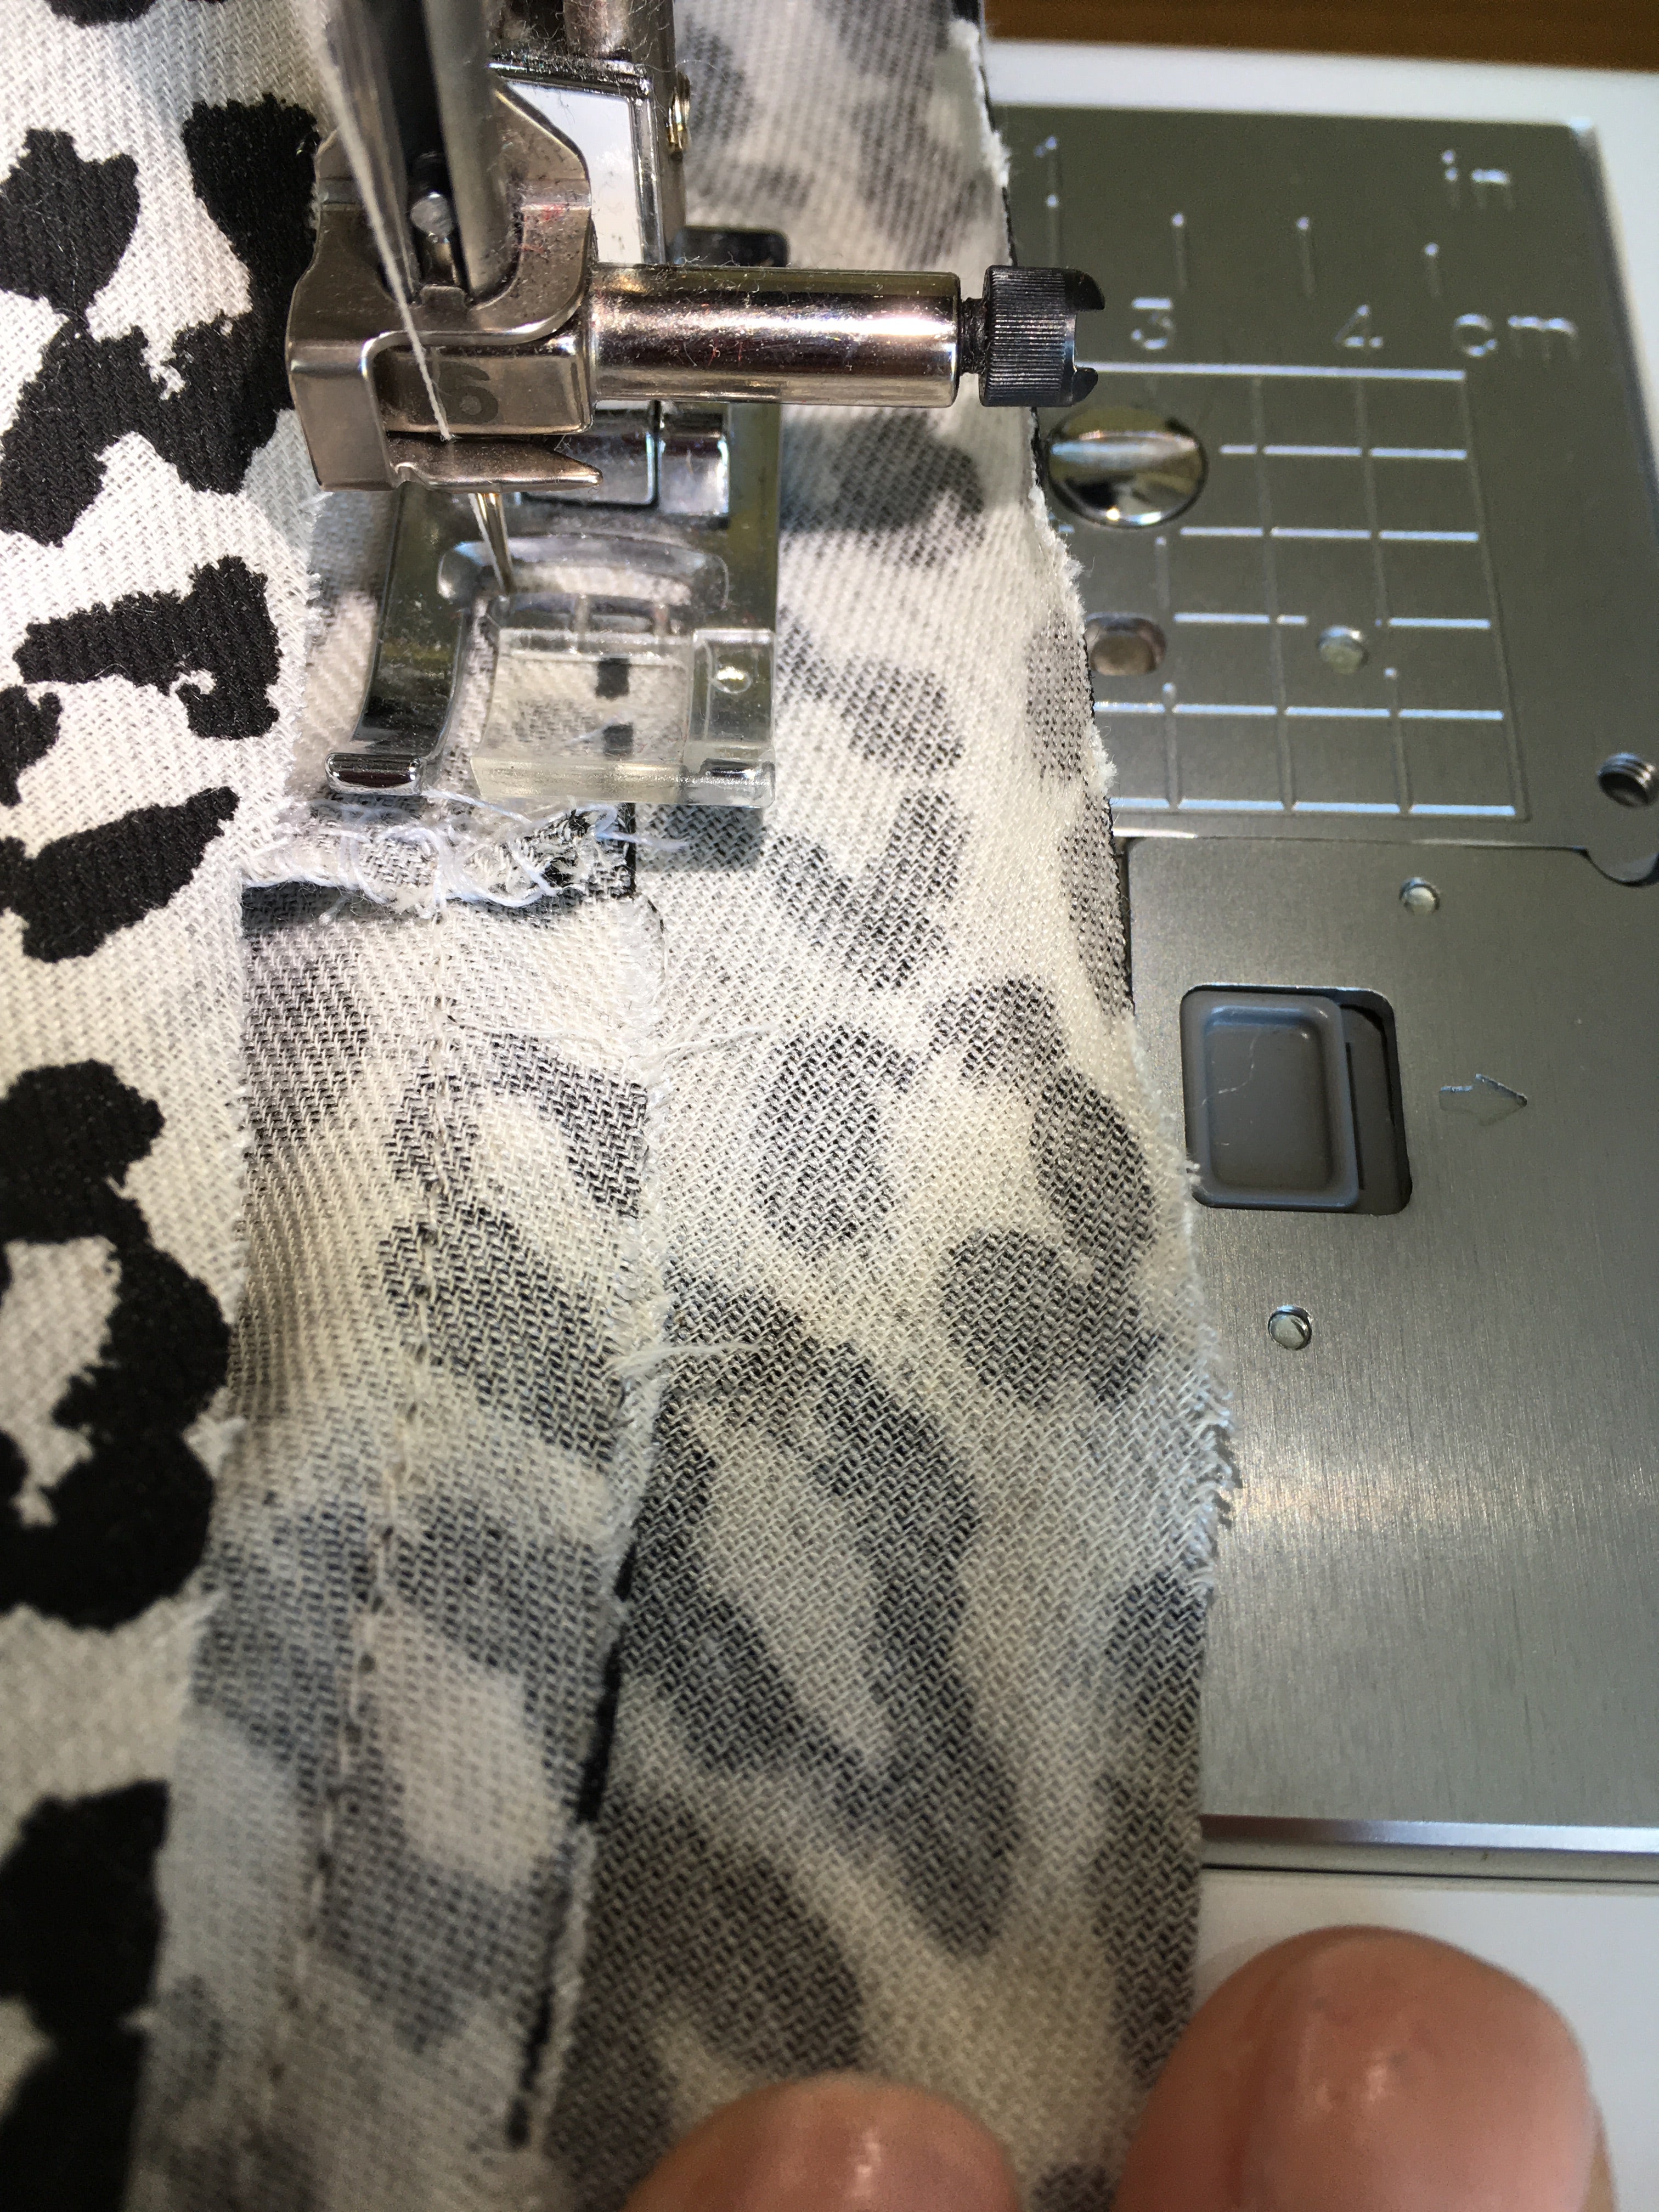
 The fabric comes from the brand new online haberdashery Folkandfabric. This is the third fabric I sewn from them and again wonder! The print is crazy and the "raw" aspect of the fabric (you'll see it in close-up) makes the skin look less dramatic. And then French fabric, it's still a pleasure. I hope you'll like my blouse as much as I do, I'm crazy about it! The bow can be knotted on the front, on the back, or done gently as a tie, it's up to you!

 Let's go for the tutorial of this transformed Dahlia: I started by retouching the pattern: I shortened the front and back shoulder line by 4 cm to indent the armholes (it's according to taste of course I wanted to indent), and I traced it (for the back I pinned the yoke and the lower back, be careful when taping to superimpose the seam allowance). And I extended my collar foot piece by 55 cm (the piece being at the fold, you'll have a nice bow, and you have to cut it x 2 at the fold ;) )


 The mounting of the back: Fold your middle back line of the back yoke 2 times to make the small middle back hem (your mounting notch prefigures the "finished" garment c to d hem realized).
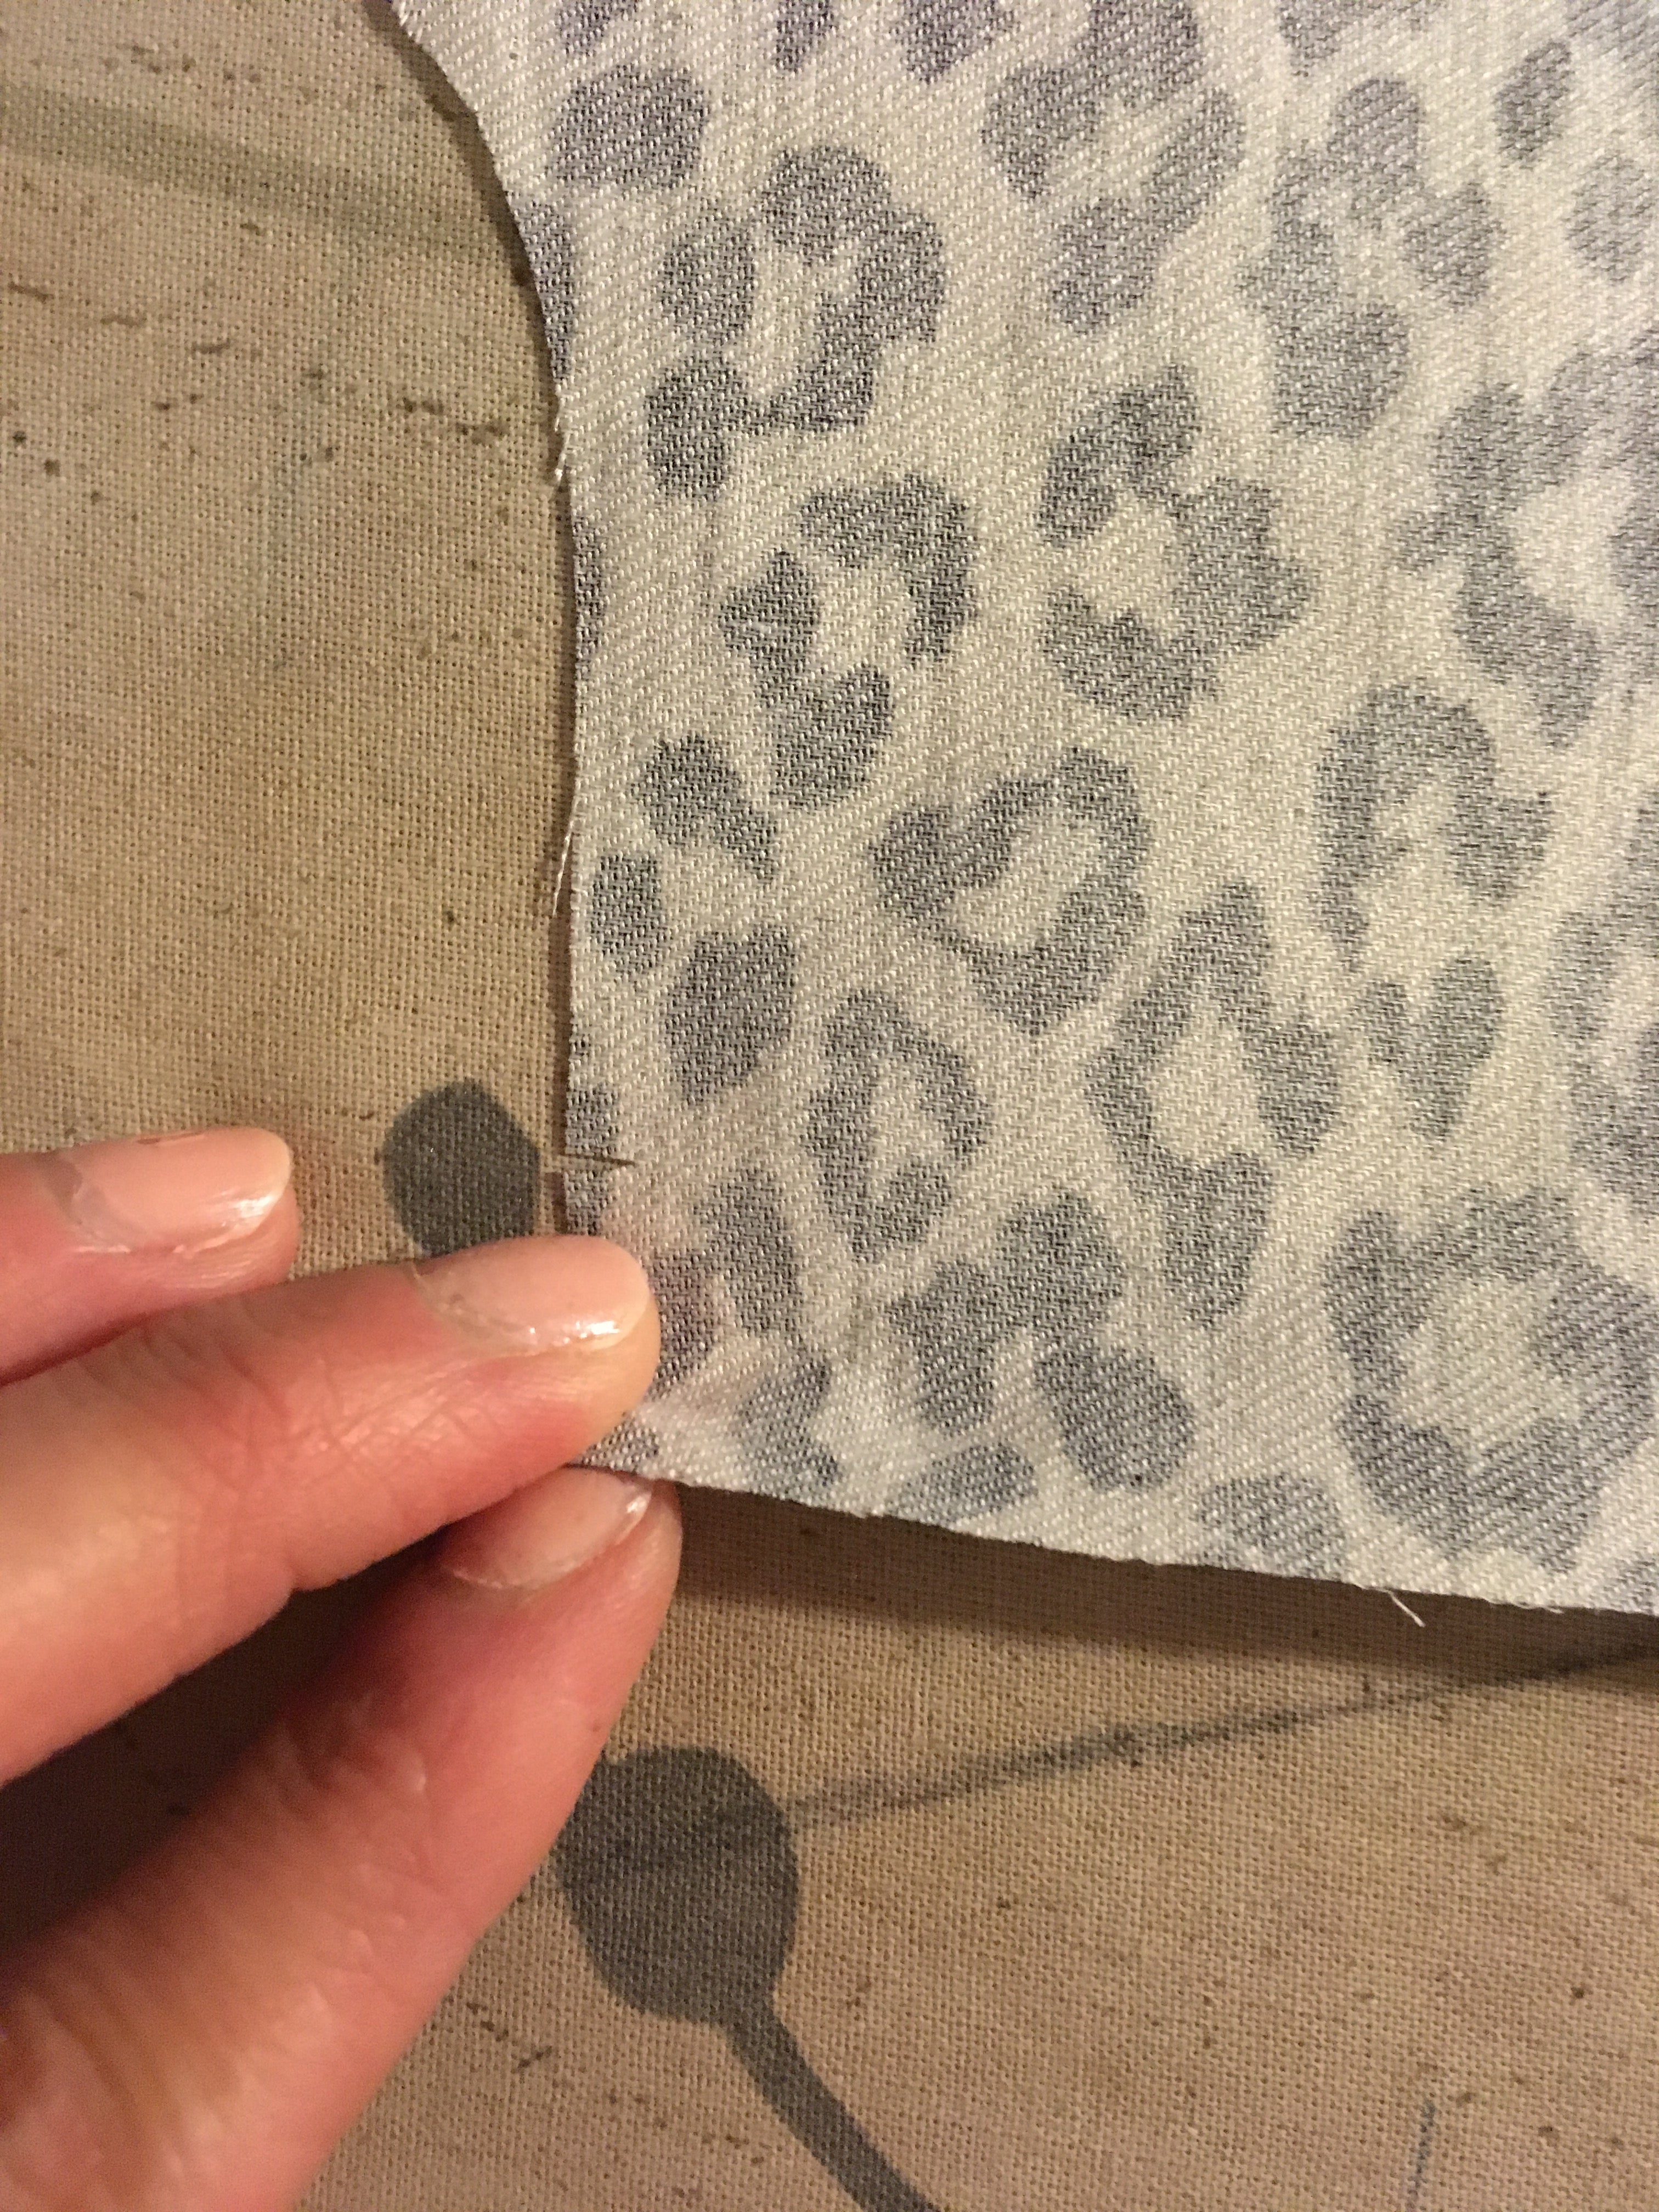

 2nd ply your guts are on the midline back
 Sew your pliers
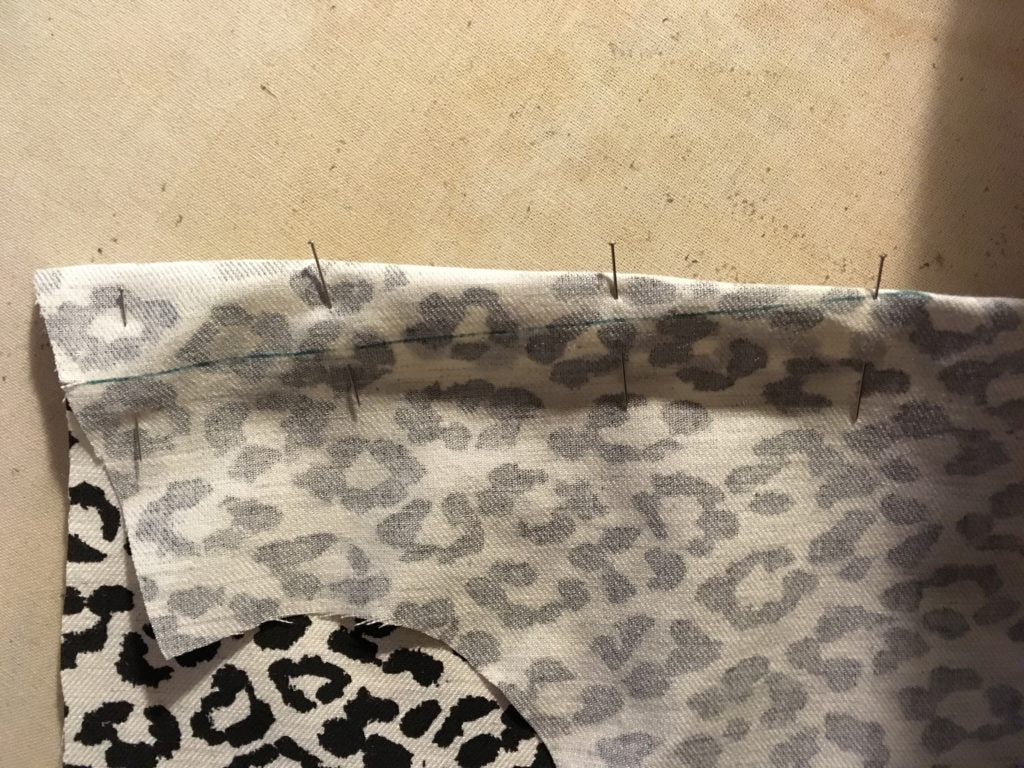 For the back I chose not to make the fold but to absorb the excess fabric by gathering: change the bobbin thread, widen the stitch and release the thread tension, stitch, pull the bobbin thread and pucker. We spread the gathers by pinning the yokes back to back.
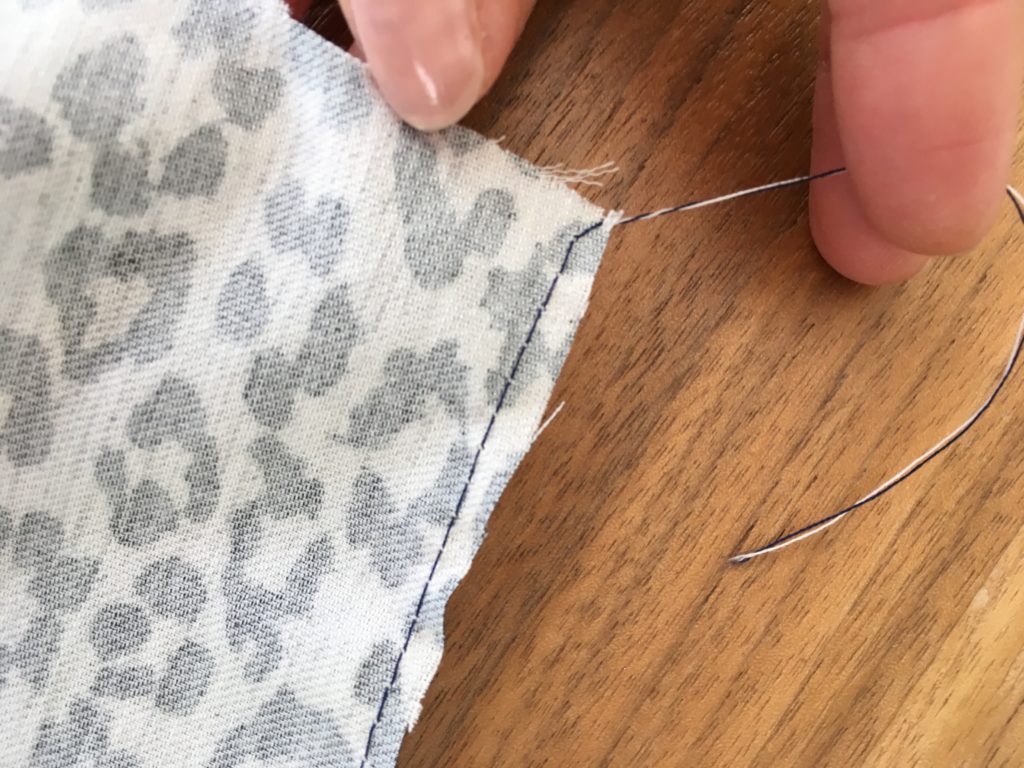


 Press the margin downwards with an iron. Pin your front and back by the shoulders right sides together, stitch on the right side.
 Mounting the collar well this is clearly your concern with Dahlia, this assembly will be exactly the same for the classic collar so enjoy! pin the 1st collar foot right side up on the whole neck, NTION YOUR INCURVATION PART OF THE NECK IS INVERTED BY REPORTING TO THE INCURVATION OF THE NECK IT IS PINNED THAT YOU COME TO HANDLE TO ASSEMBLY. And when you return it's perfect!


 you are going to prepare your gathering band: first, a small hem on the top of your band with a mini hem (you fold on 2/3 mm by placing it with the iron and stitching, you fold again following the first stitch and you stitch on the visible part and it's very small!), do the same for the sides.


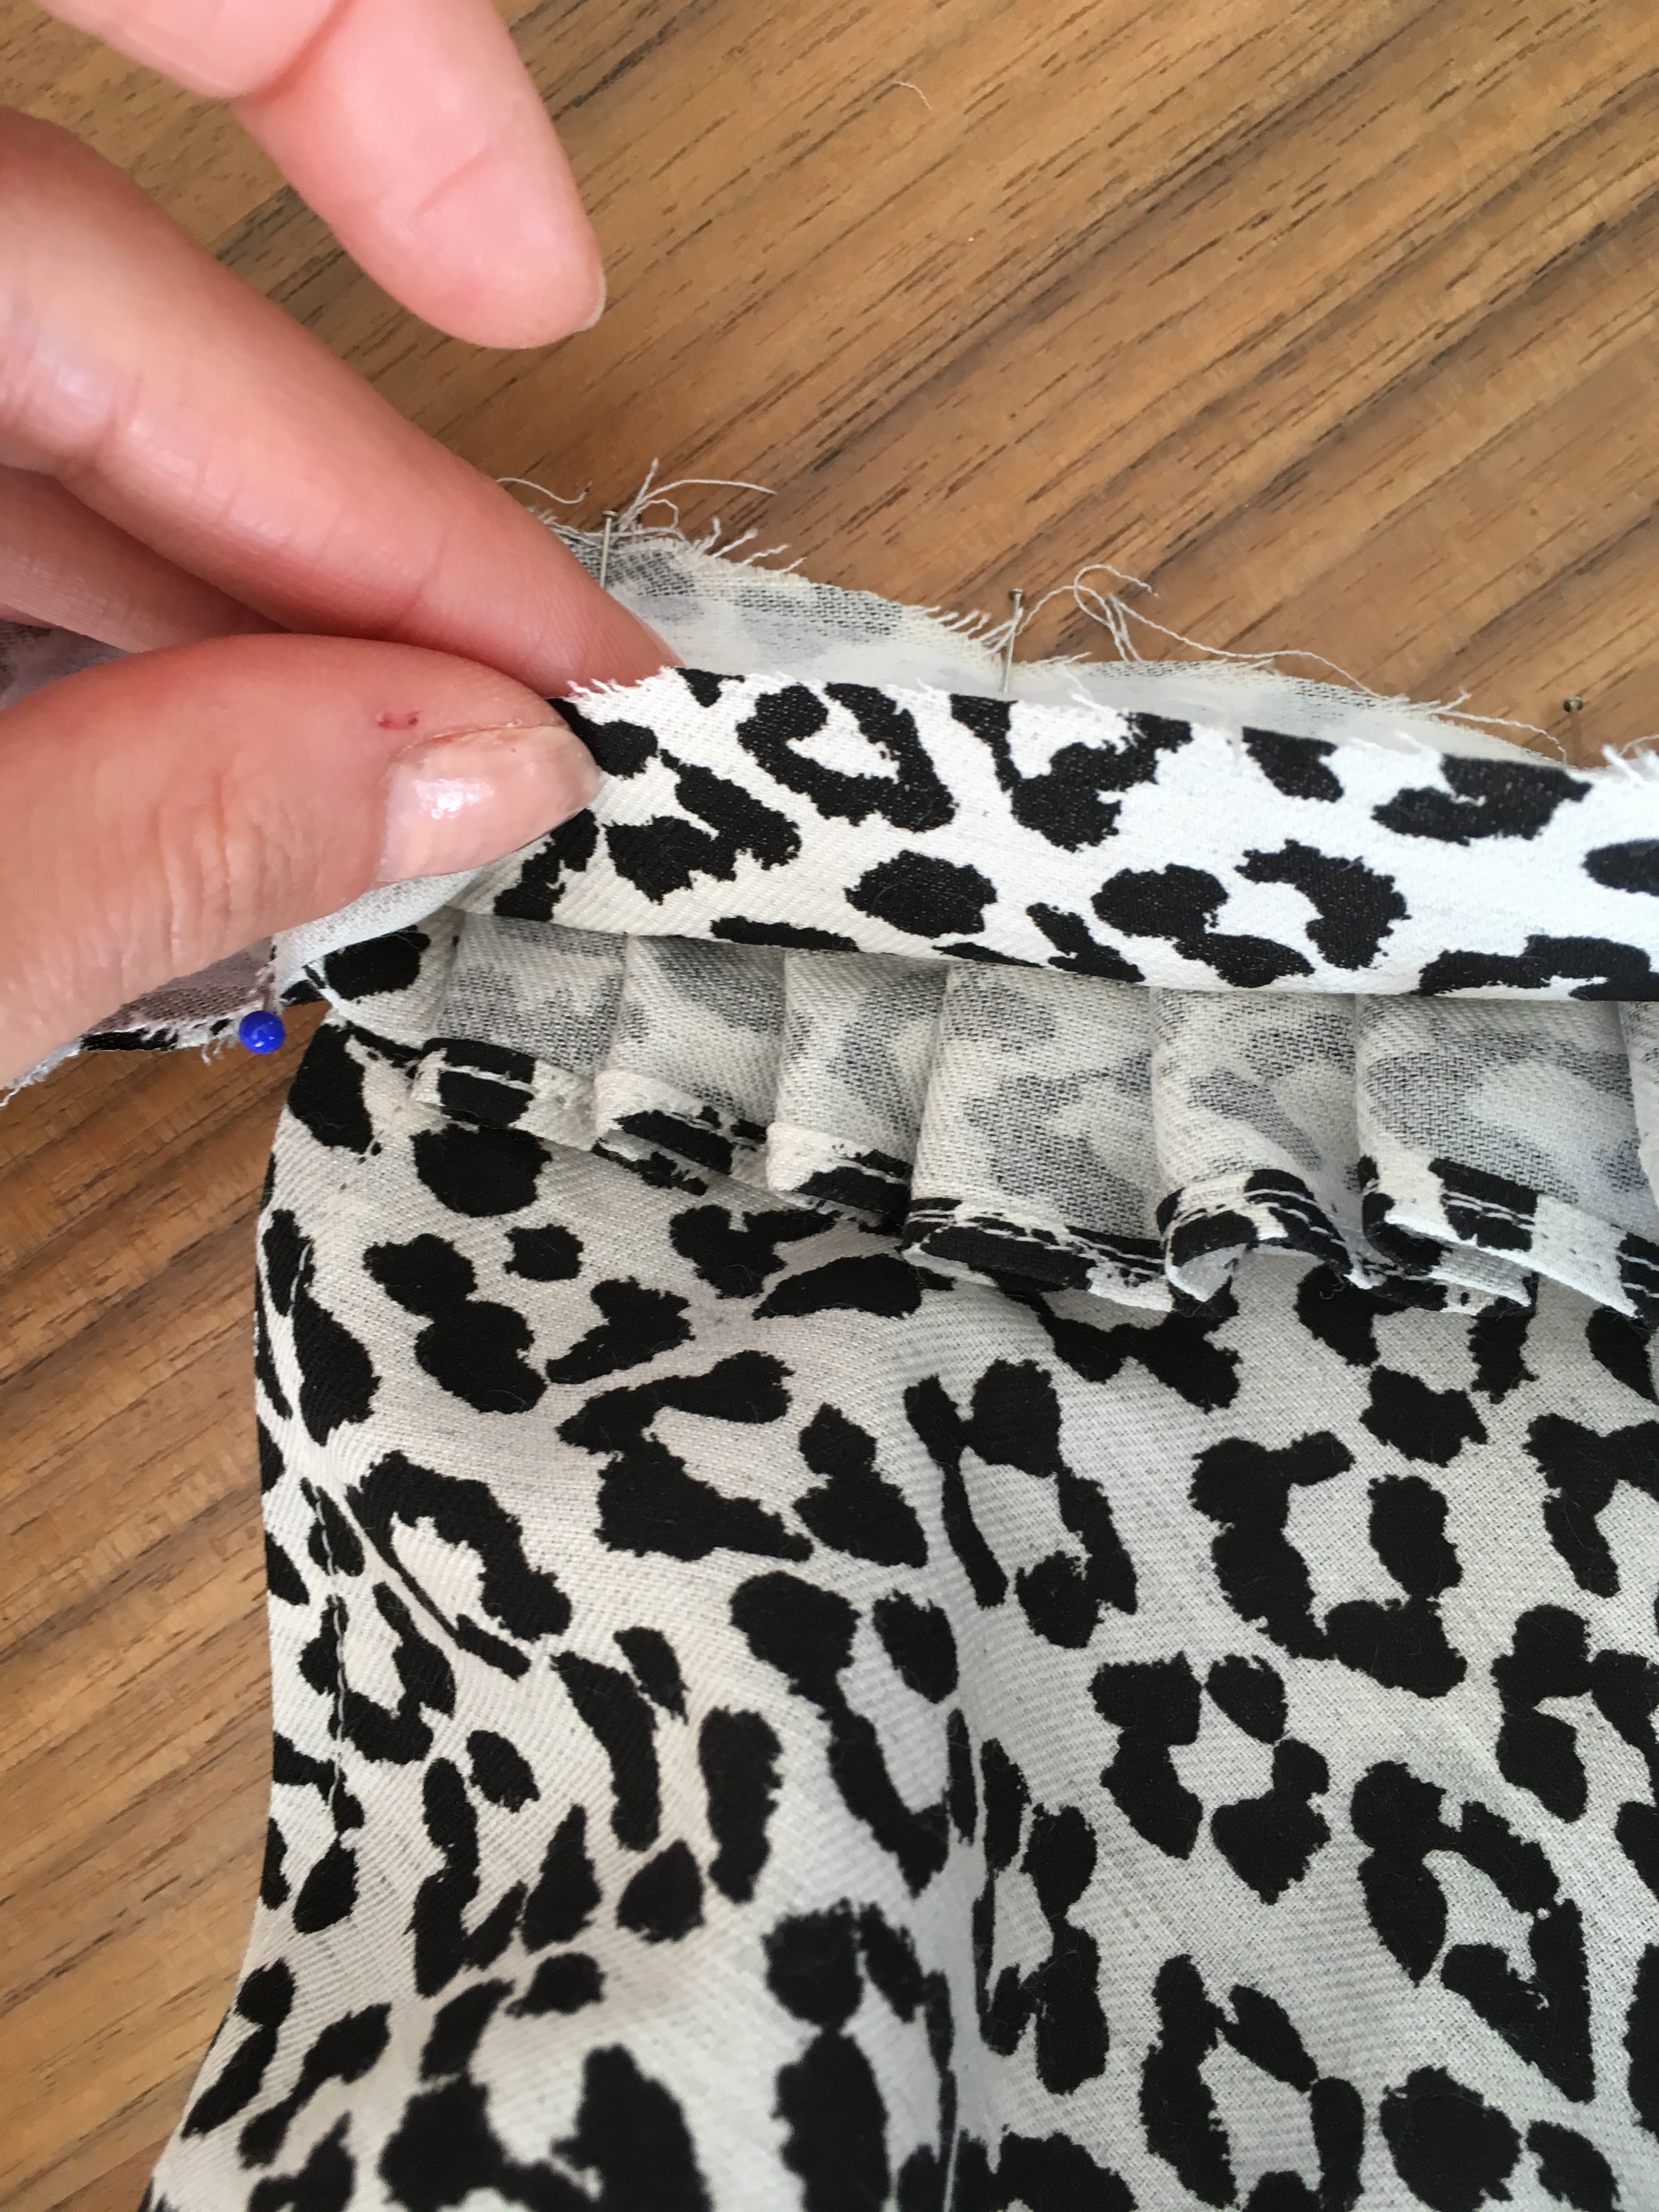
 You're going to make your folds (I pinned from the middle, the ends, then I modelled my folds): we pin right against right all the folds and we fix by a seam in the seam margins. and now we pin the second collar foot which is covered with fabric (here there is the neckerchief so the ends are long!): we pin right against right all the top, the sides and we leave the bottom portion open.
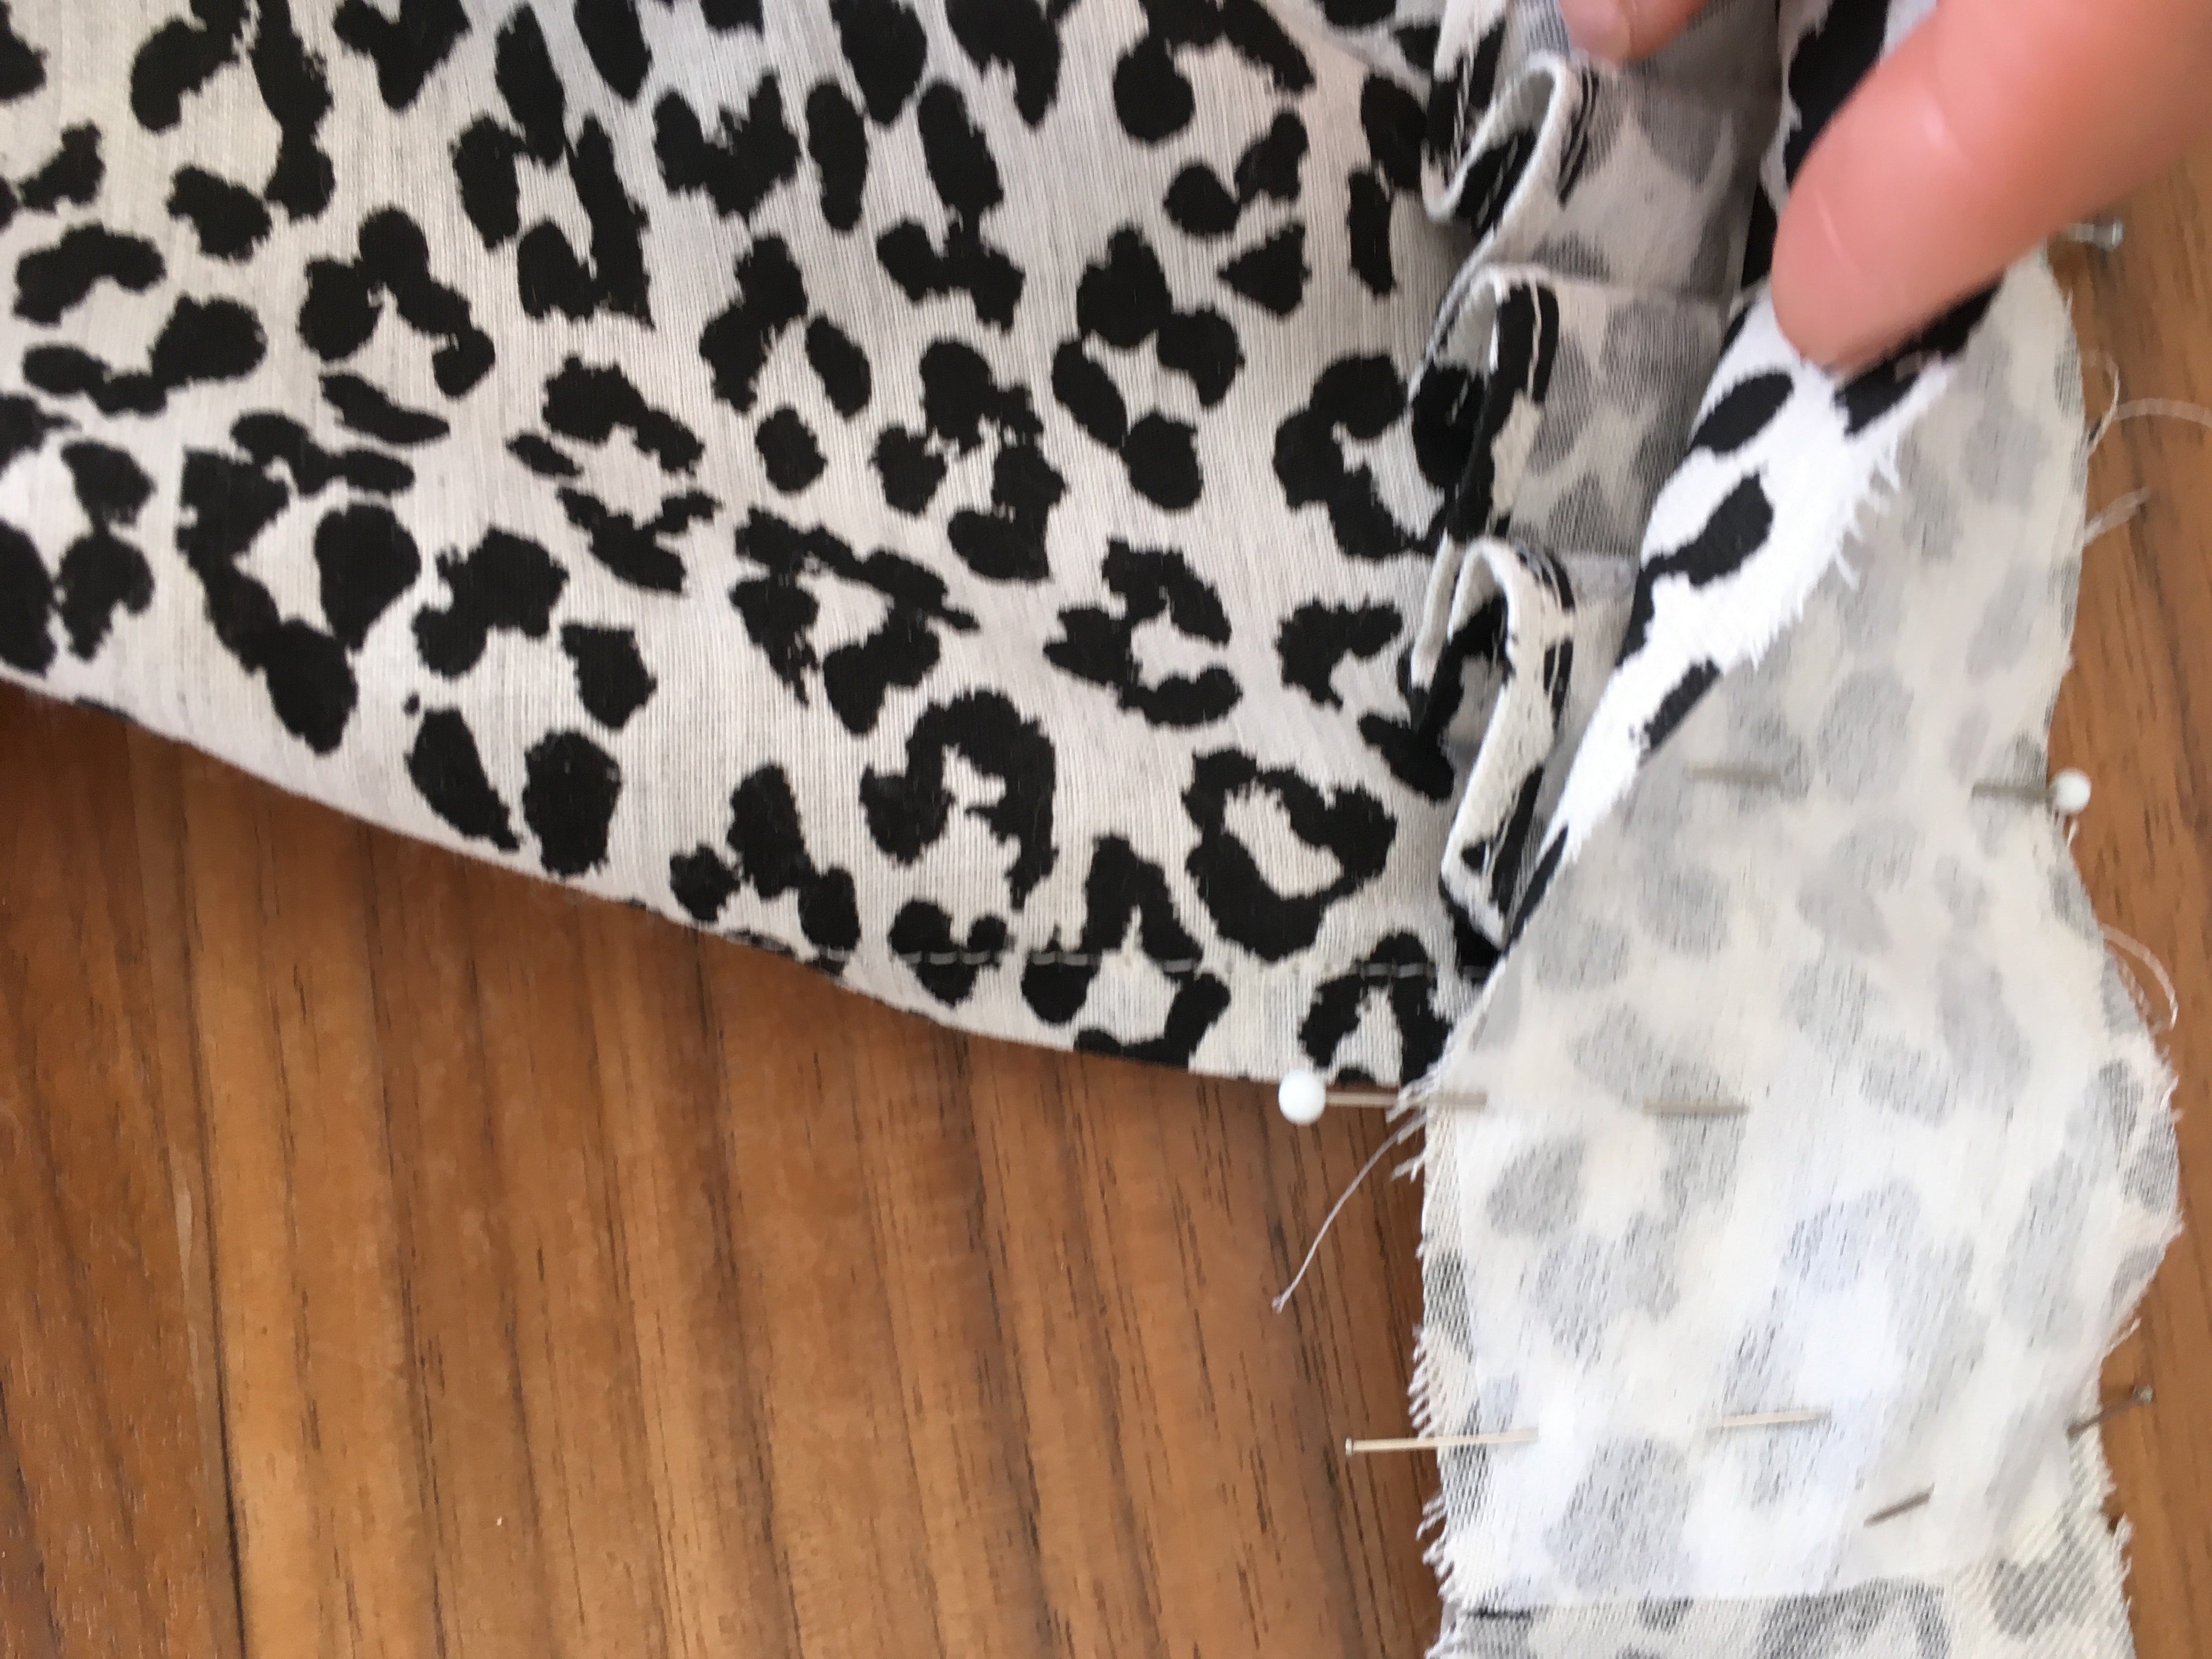


 you turn your collar on the right side (to help you turn the lavaliere use a bias turn, or a chopstick ;) ). all you have to do now is to fix the portion left open: press the seam allowance of the collar foot into the inside of the collar by pressing with an iron, and either fix it with an invisible stitch by hand or with a stitch from one end of the collar foot to the other.
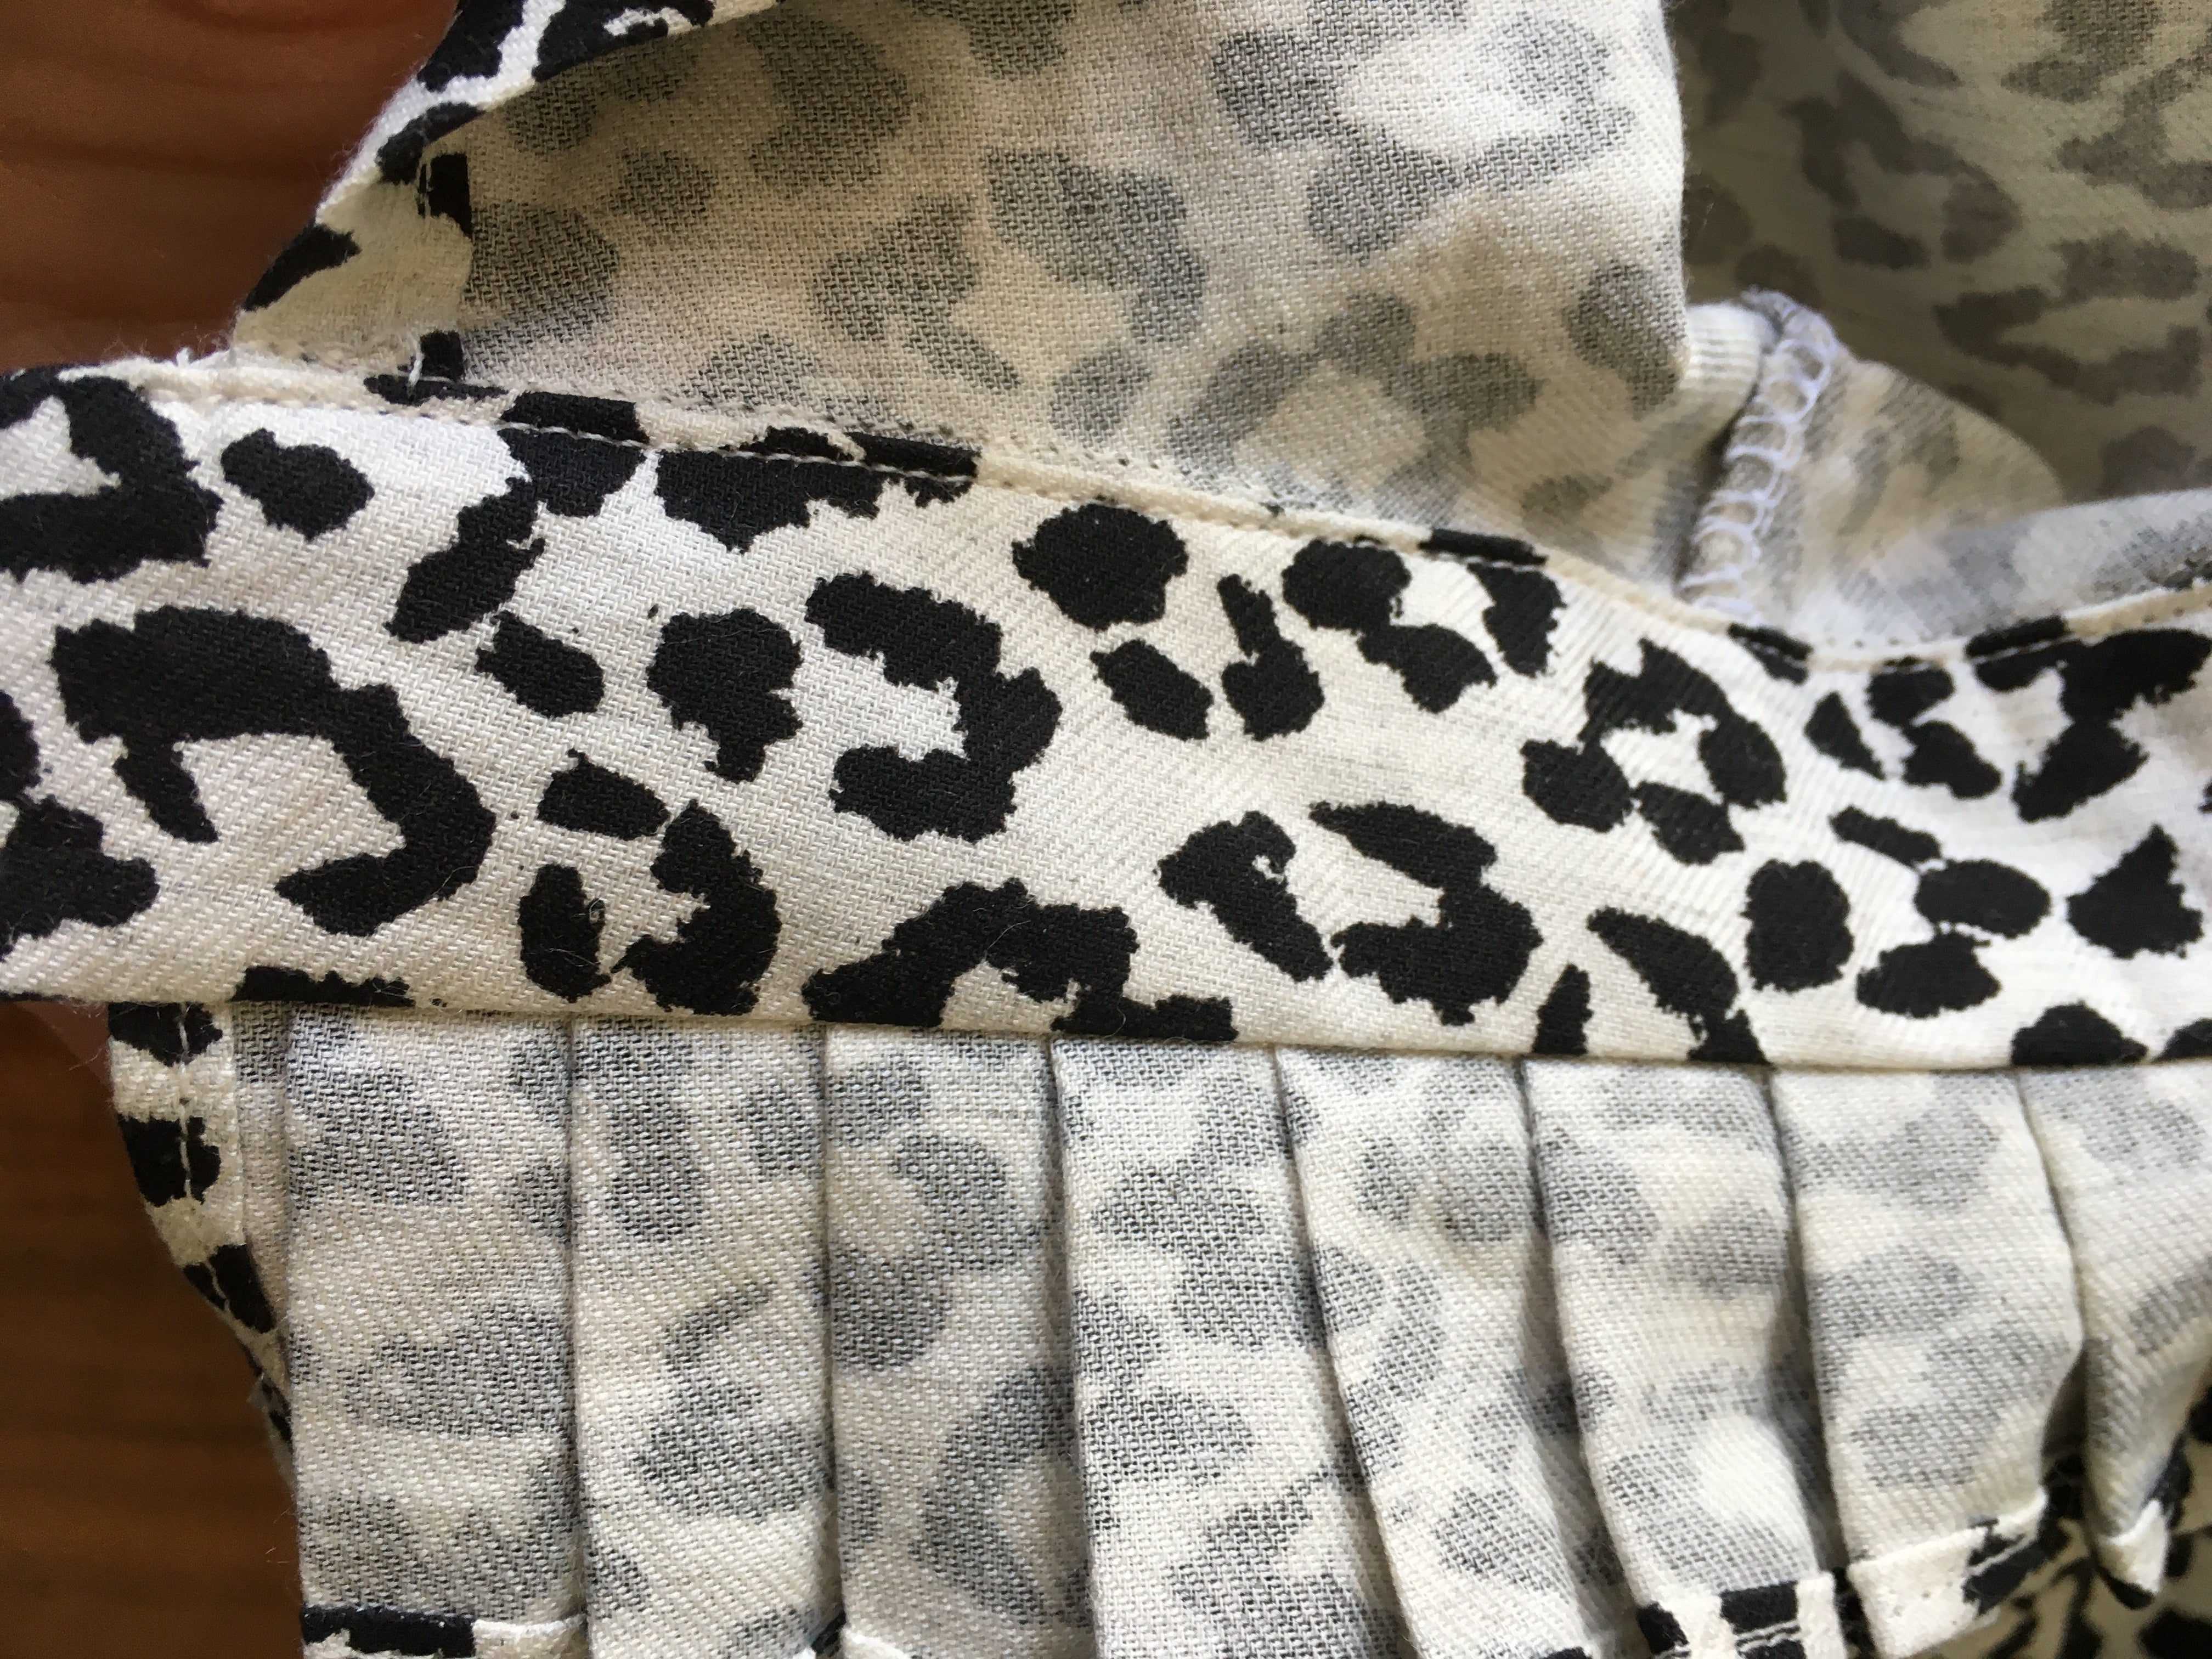
 For the armholes: come to assemble your sides (bust in front and back place against place, and turn over). Slanted armholes: I cut a bias band in my fabric. Pin your bias on your armhole right side against right side, sew. Put your bias on the right side, and stitch together your bias and your seam allowance.
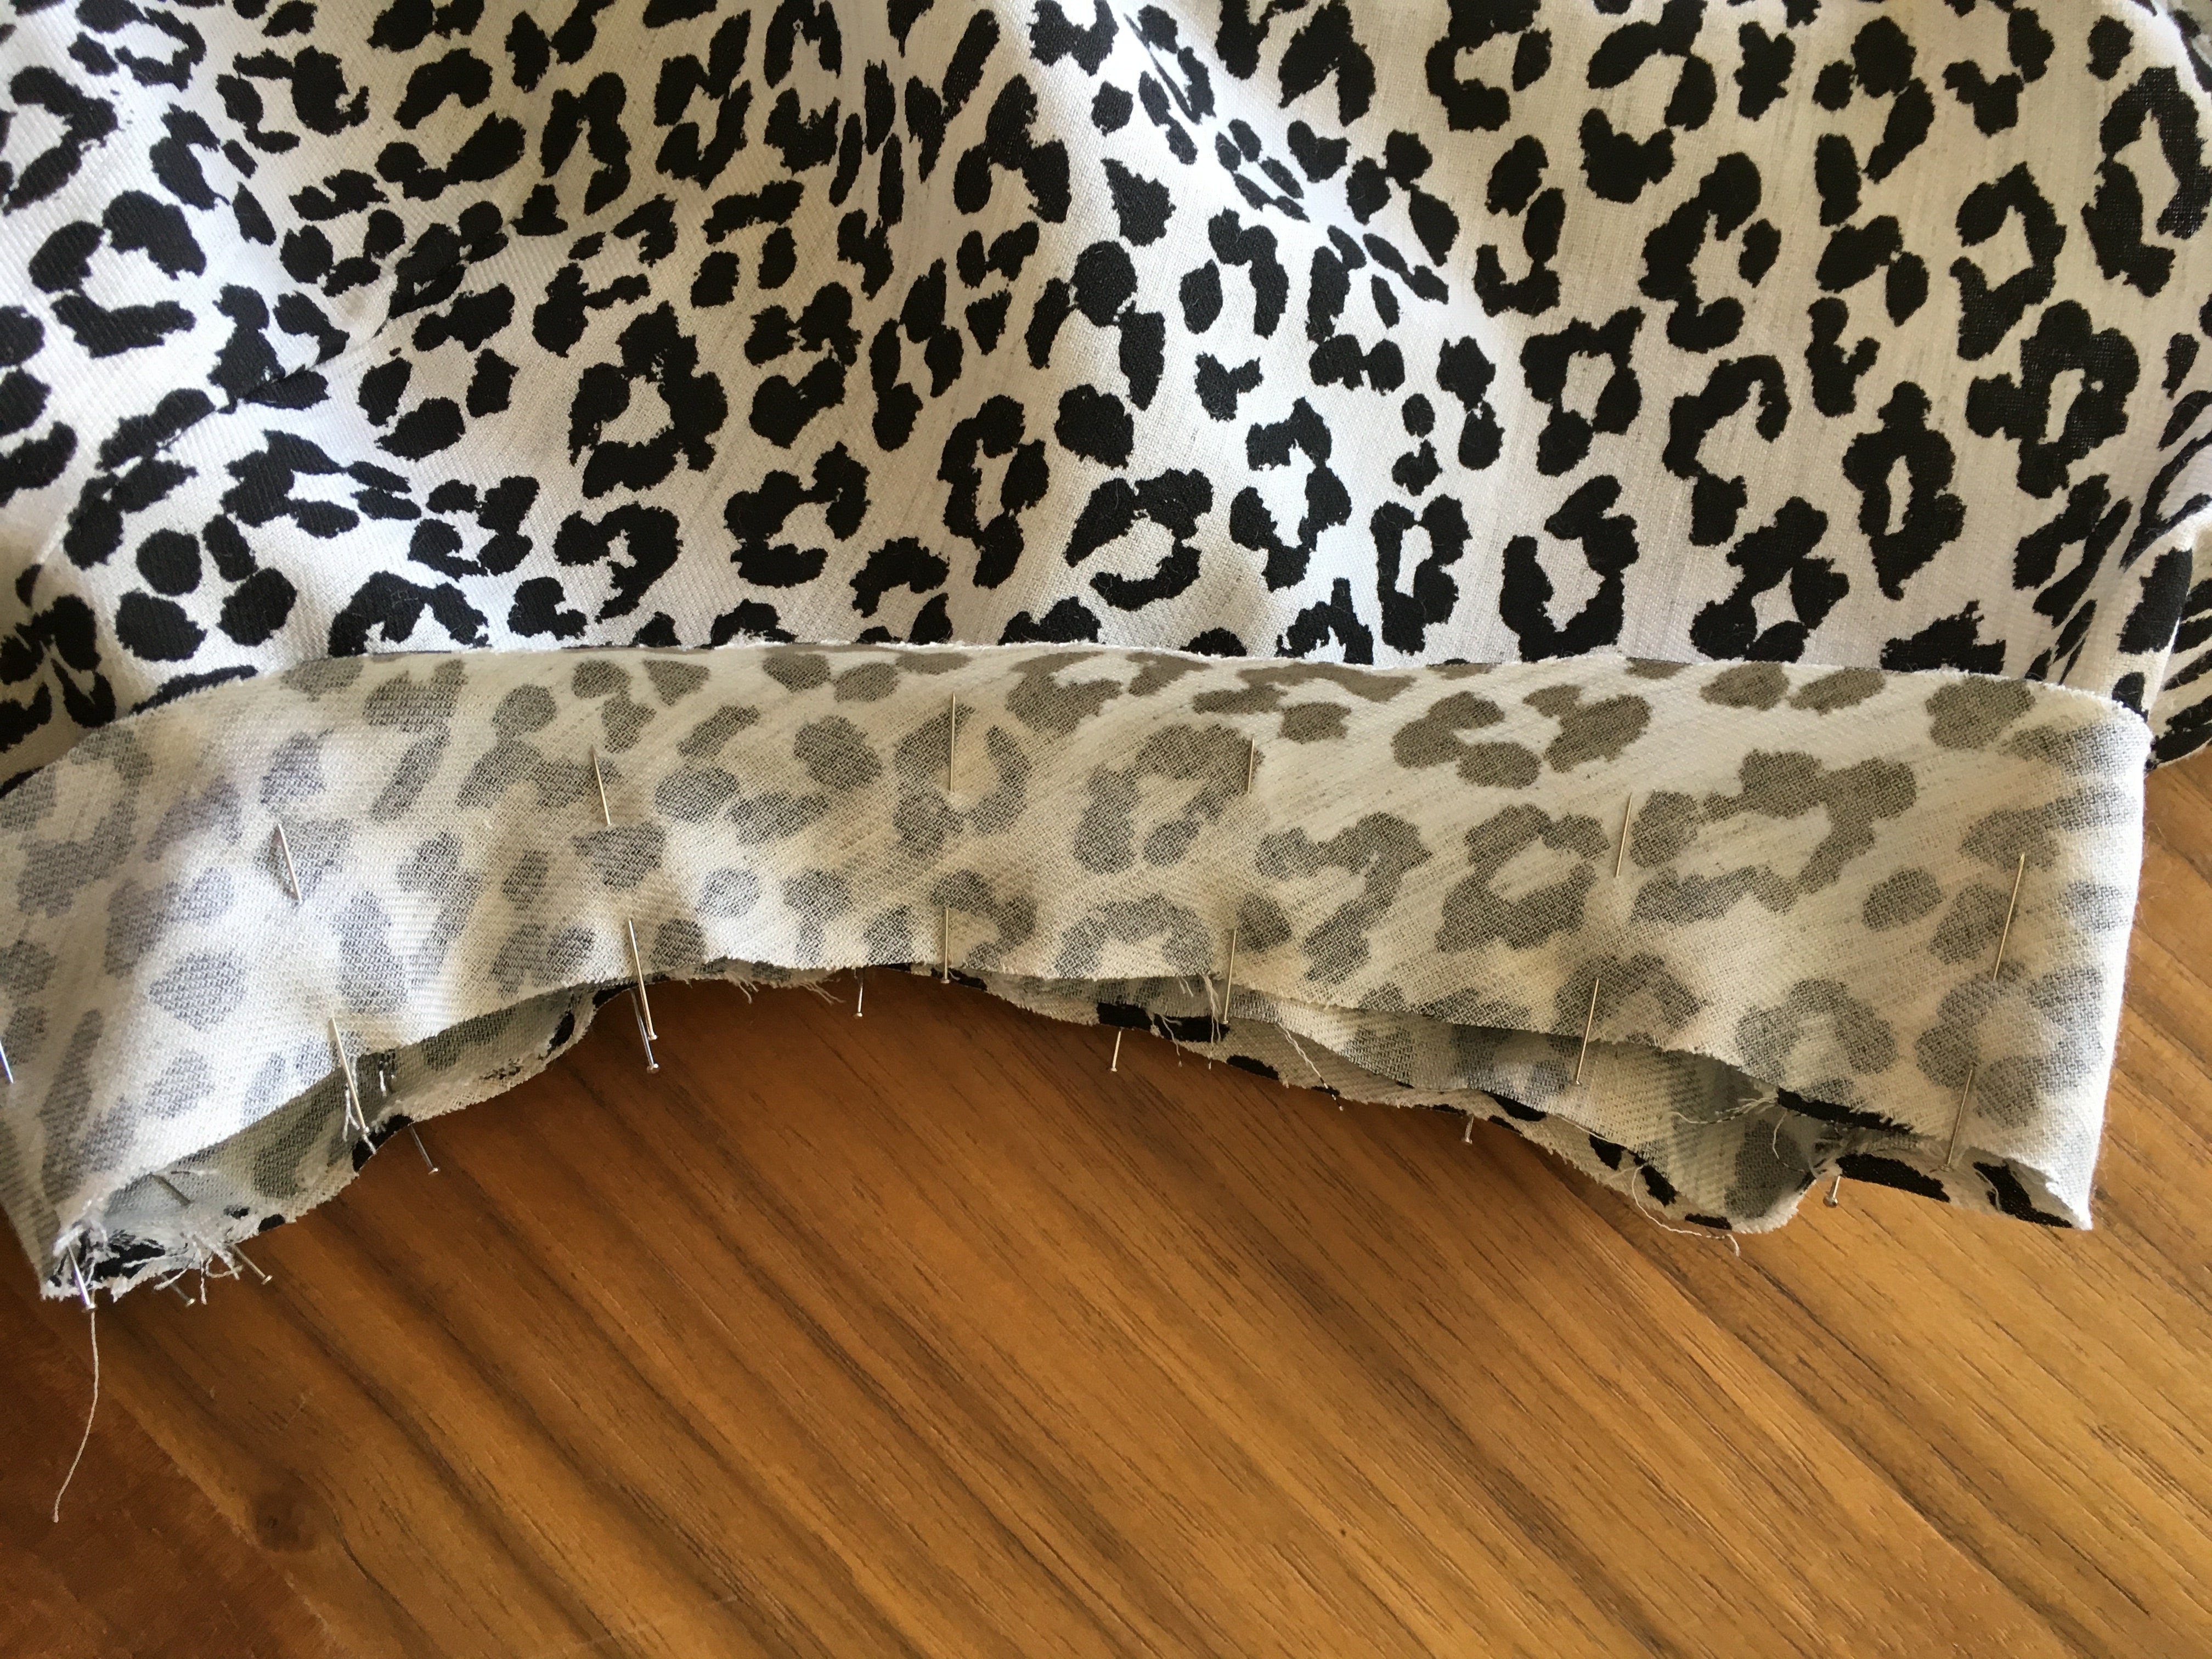


 Then you fold from the wrong side of your bias following the 1st seam. Fold twice and sew. Iron well.


 Well, make your hem (same technique as for the edge of your pleat band) and voilà!!!!
